
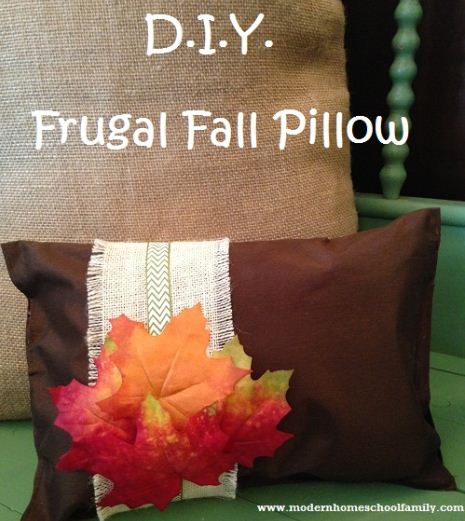
Create your own easy and inexpensive frugal fall pillow, perfect for adding some warmth to your space! You can make your own frugal fall pillow with just a few common crafting supplies, and the end result is a custom made pillow that is so charming and fun for the fall season. Take a look below at how to get started. Making your own frugal fall pillow is so easy and inexpensive!
Here is what you will need:
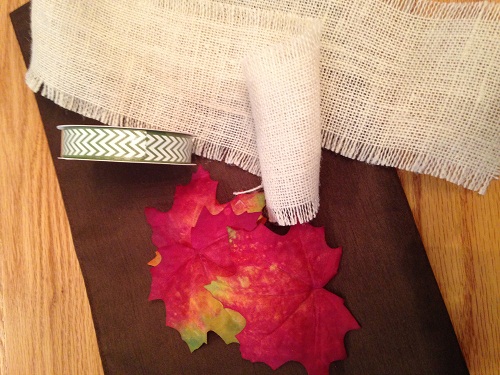
1 brown placemat ($1 at the Dollar Store)
Burlap ribbon
Thin craft ribbon in color of your choice
Silk fall leaves
Scrap fabric, cotton, or cotton batting
Hot glue, glue gun
Directions:
1. Lay your placemat flat and smooth out the wrinkles. Now fold your placemat in half. Apply a generous length of glue along two of the edges of the placemat only. Give the glue a good 10 minutes to dry, pressing on the seams as you do.
2. Along the edge of the placemat that you have left open, start stuffing in your scrap fabric or cotton batting. Make sure you push the batting into the corners well.
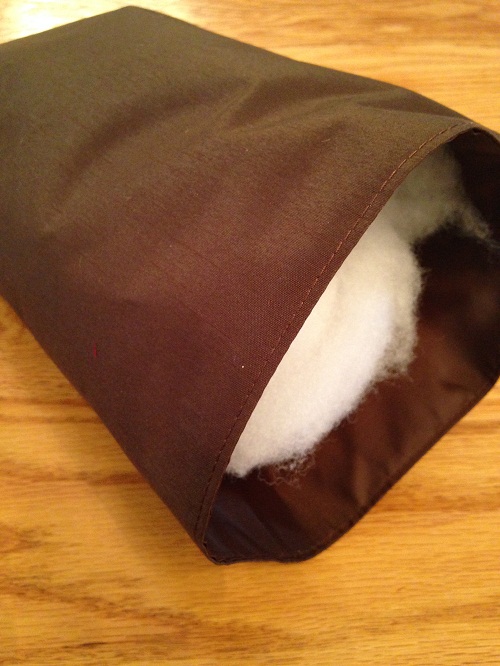
3. You can stop stuffing once the pillow is full and evenly stuffed. Take your hot glue and secure the last open end.
4. Fluff the pillow one last time and prepare to embellish. Begin by wrapping a length of the burlap around the pillow. Cut it to fit and secure with glue.
5. Continue to layer by adding a length of thinner ribbon directly over the burlap. Cut it to fit and either tie in a bow or secure with glue as well.
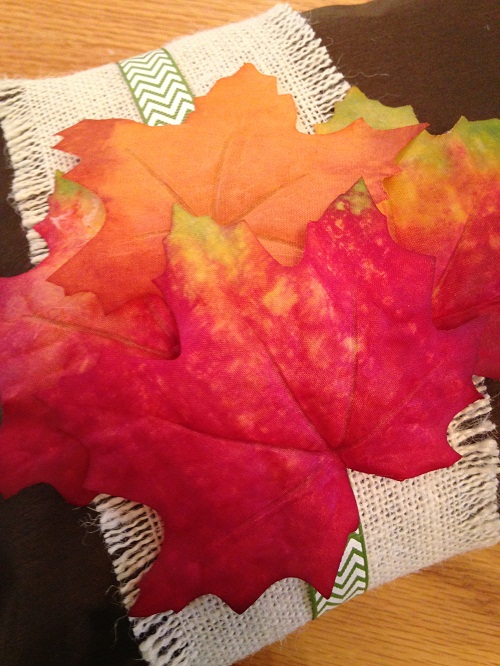
6. Layer some fall leaves or fall foliage over the ribbon. Do this by applying a few dabs of glue to the leaves and pressing firmly to the pillow.
Your frugal fall pillow is now ready to be enjoyed!
