
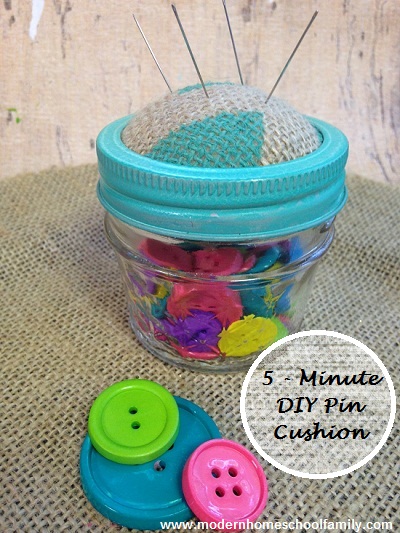
Get ready to enjoy making this cute DIY pin cushion made from a variety of easy to find materials. Now, what can be better than transforming simple things into a functional and handy work of art!
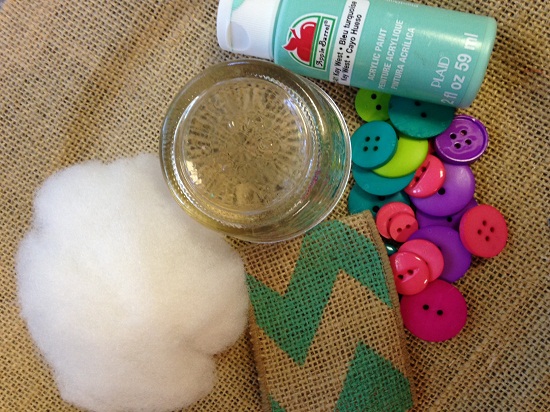
Supplies needed for your DIY pin cushion:
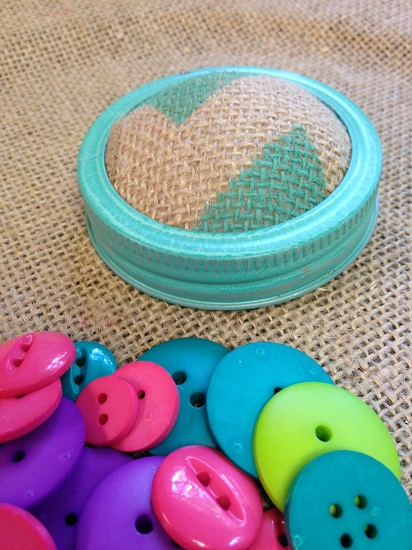
- Small jelly jar with lids (Hobby Lobby, $1.99)
- Piece of scrap fabric
- Cotton balls or cotton batting
- Scissors
- Paint of your choice (brush on or spray)
- Glue – hot glue works best! 😉
- Sewing trinkets such as measuring tape, buttons, and needles
Directions for making your 5-Minute DIY Pin Cushion:
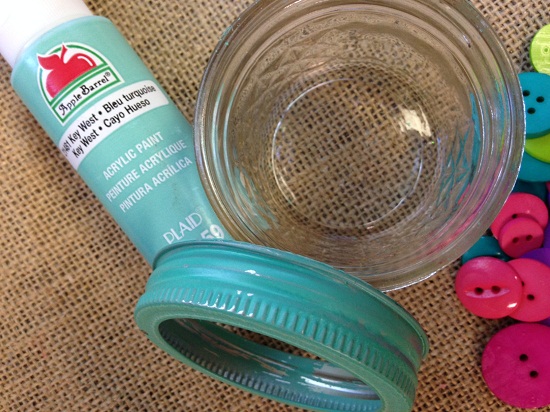
1. Begin by removing the lid of your jar to paint it. You do not need to paint the flat disc, just the ring of the jar. Apply two coats of either spray or brush on paint of your choice. Allow it to dry thoroughly.
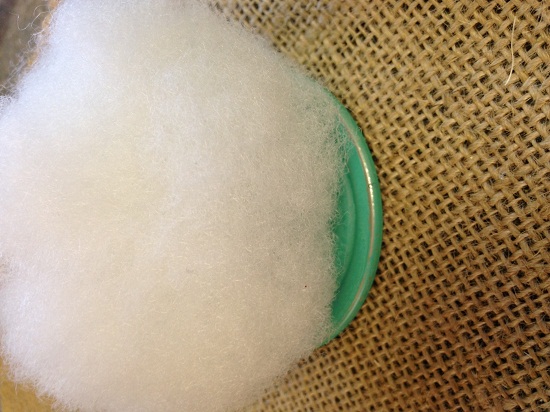
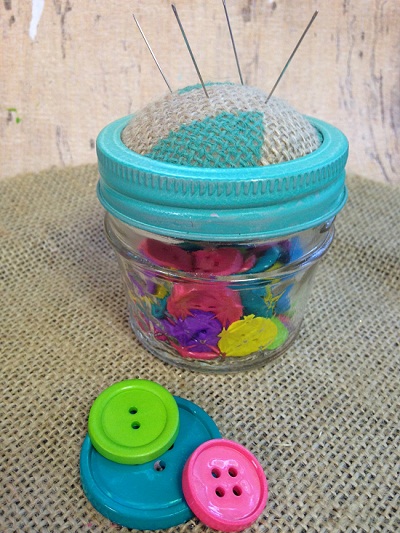
2. Take a handful of cotton batting or cotton balls. Gather them into a ball and set them on top of the metal disc.
3. Place the fabric scrap over the batting. Pull the sides over the edges of the disc and secure them to the bottom of it with glue. Pull tightly so the top fabric is smooth.
4. Once the glue is dry, return ring of the lid to the disc. It should fit nicely around the pin cushion “pillow” now.
5. Place the lid and newly made cushion on top of the jar. Add your needles and pins to the cushion just by pressing them in. Fill the jar with sewing notions and you are ready to go.
