Sensory bins are and excellent tool that can be created easily and inexpensively. Not only are they fun to make and play with but the benefits of using sensory bins in your homeschool are numerous. According to Little Bins for Little Hands, sensory bins benefits include:
- Practical Life Skills ~ Sensory bins let a child explore, discover and create play using practical life skills (dumping, filling, scooping) and learn valuable play skills.
- Play Skills {emotional development} ~ Great for both social play and independent play, sensory bins allow children to play cooperatively or side by side. My son has had many positive experiences over a bin of rice with other children!
- Language Development ~ Sensory bins increase language development from experiencing with their hands all there is to see and do which leads to great conversations and opportunities to model language.
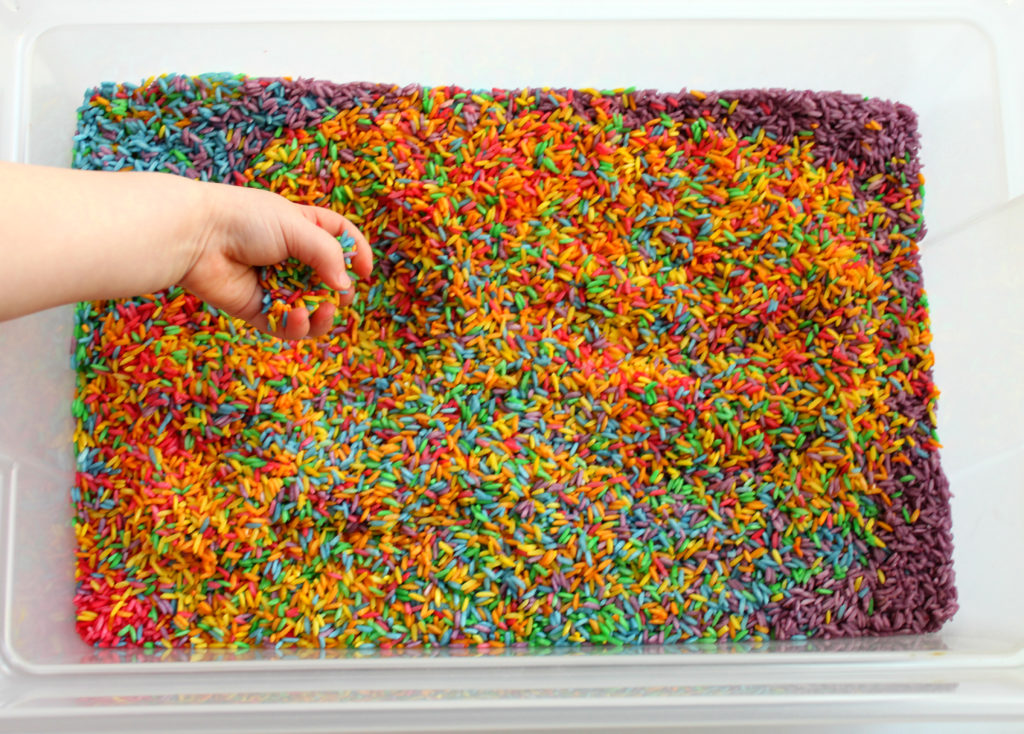
- Understanding The Bodies Senses ~ Many sensory play bins include a few of the senses! Touch, sight, sounds, taste and smell are our bodies senses. Children can experience several at a time with a sensory bin. Imagine a bin of brightly colored rainbow rice: touch the loose grains against the skin, see the vivid colors as they mix together, hear the sound of sprinkling over a plastic container or shaken in a plastic egg! Did you add a scent like vanilla or lavender? Please do not taste uncooked rice, but there are plenty of sensory play options that you use edible ingredients like our pigs in mud pudding play.
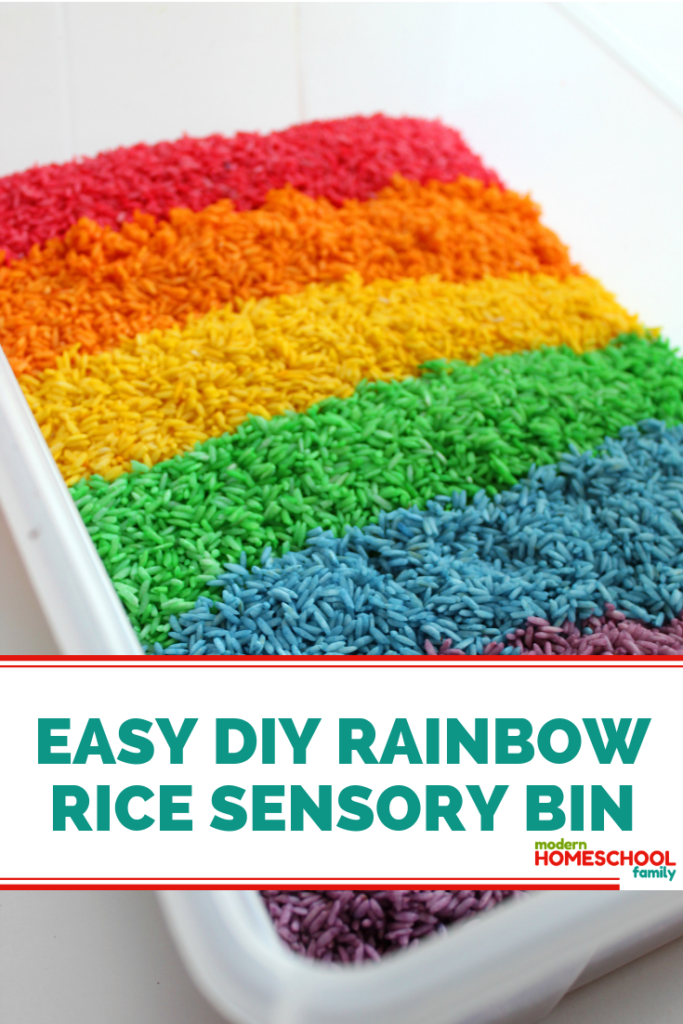
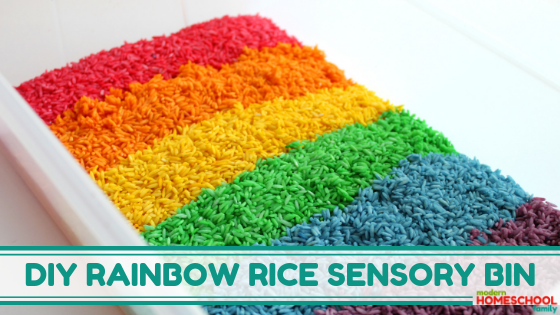
One of the easiest and least expensive sensory bins to make is a Rainbow Rice Sensory Bin. Just like the name implies, you’ll use rice, and a few other materials.
DIY Rainbow Rice Sensory Bin
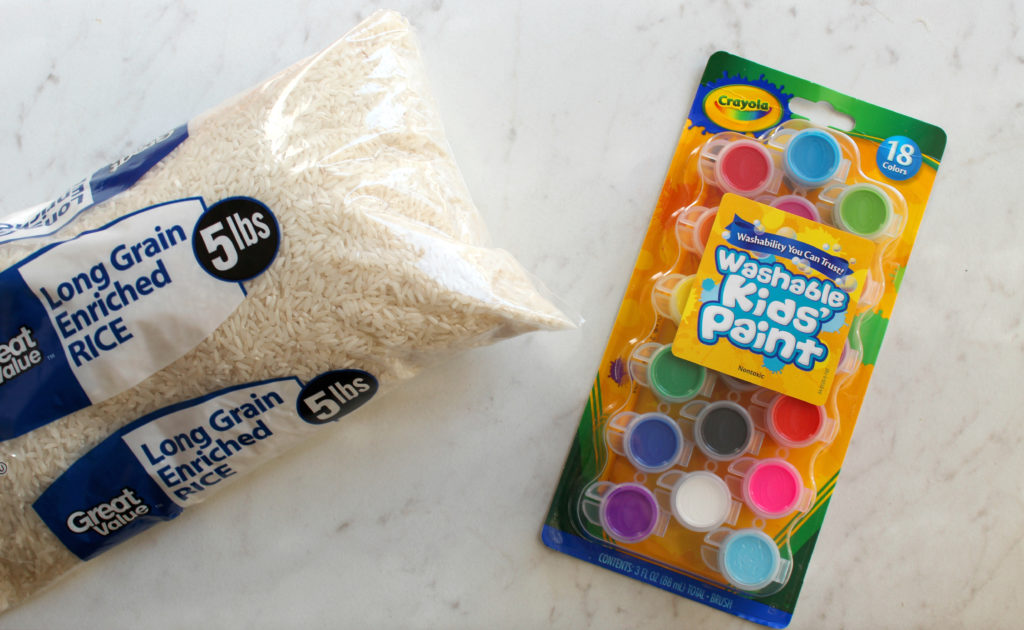
Rainbow Rice Sensory Bin Materials:
- Plain uncooked white rice
- Watercolor paints in rainbow colors (food coloring may be substituted)
- Bin to hold rice
Rainbow Rice Sensory Bin Directions:
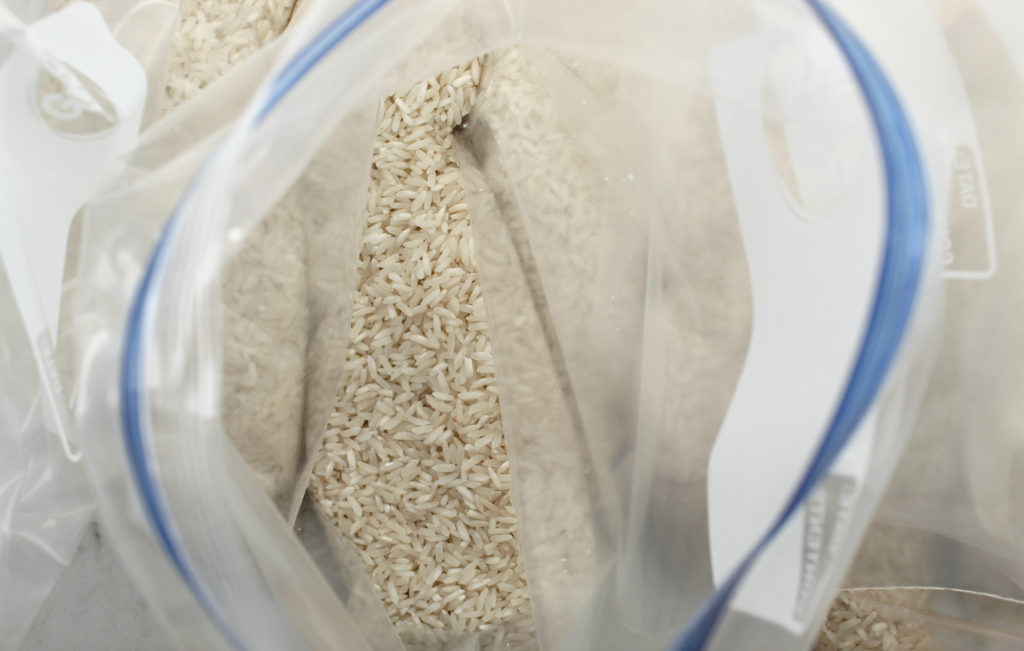
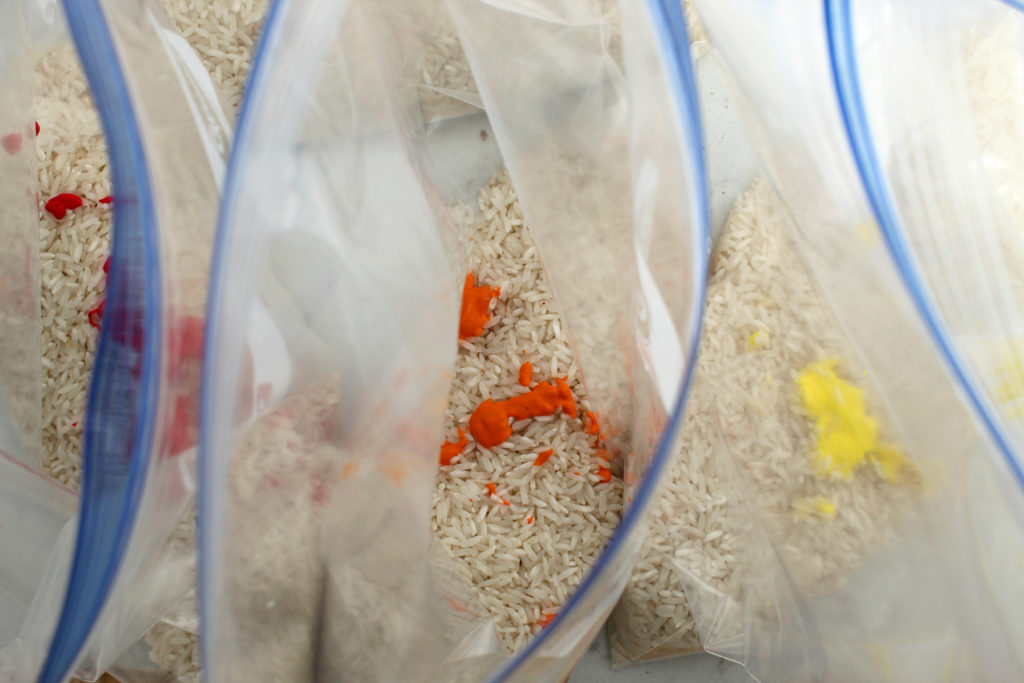
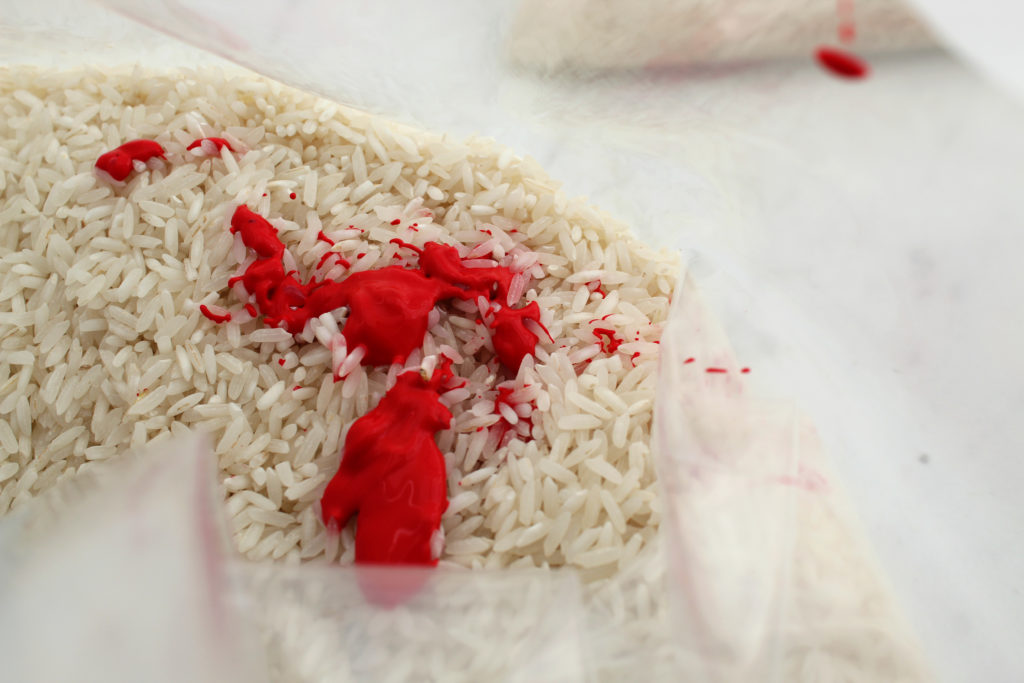
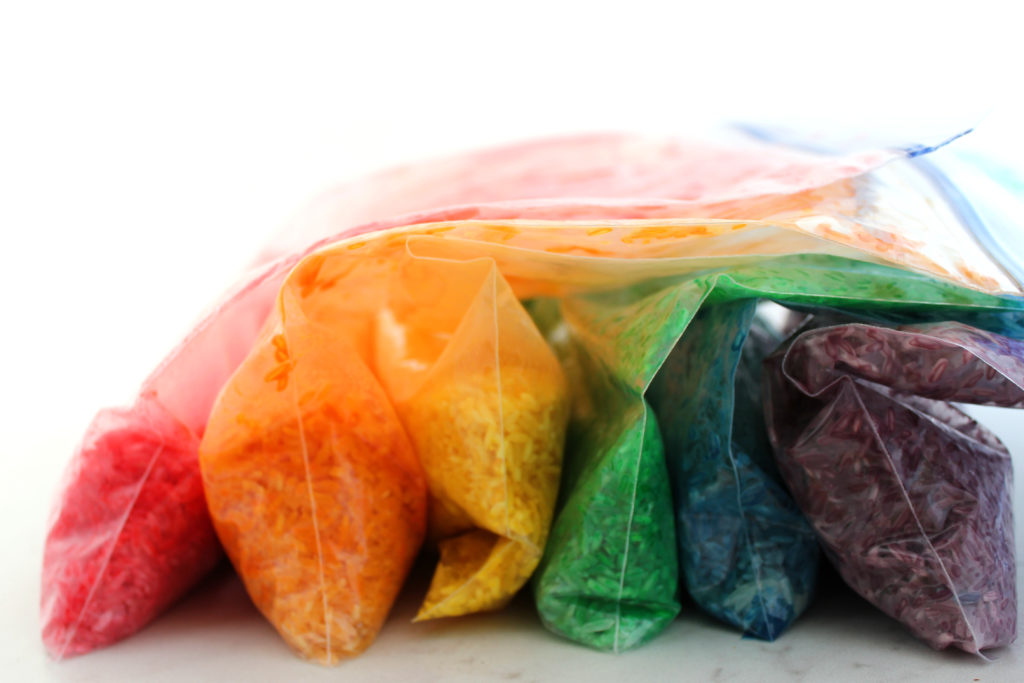
- Divide your rice into 6 bags – one for each color of the rainbow (red, orange, yellow, green, blue, purple). Add a small amount of paint to each bag. Close the bag and shake until the rice is completely coated. If there is any white rice left, add another splash of paint to the bag and repeat the process.
- Once all the bags of rice have been colored, allow the rice to dry in open air for a couple of hours (or overnight).
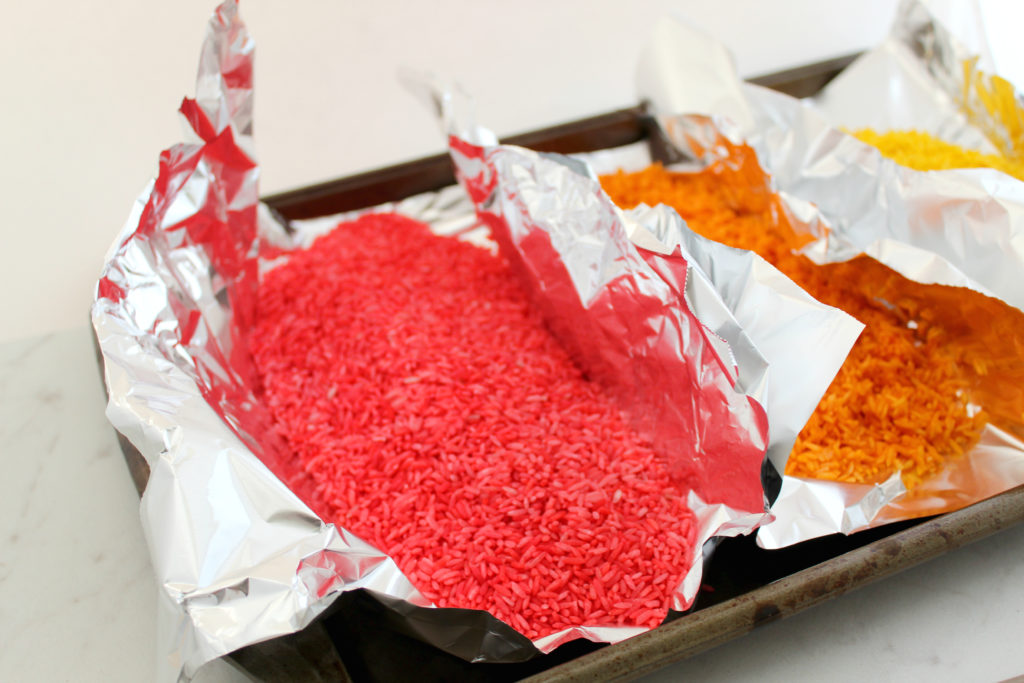
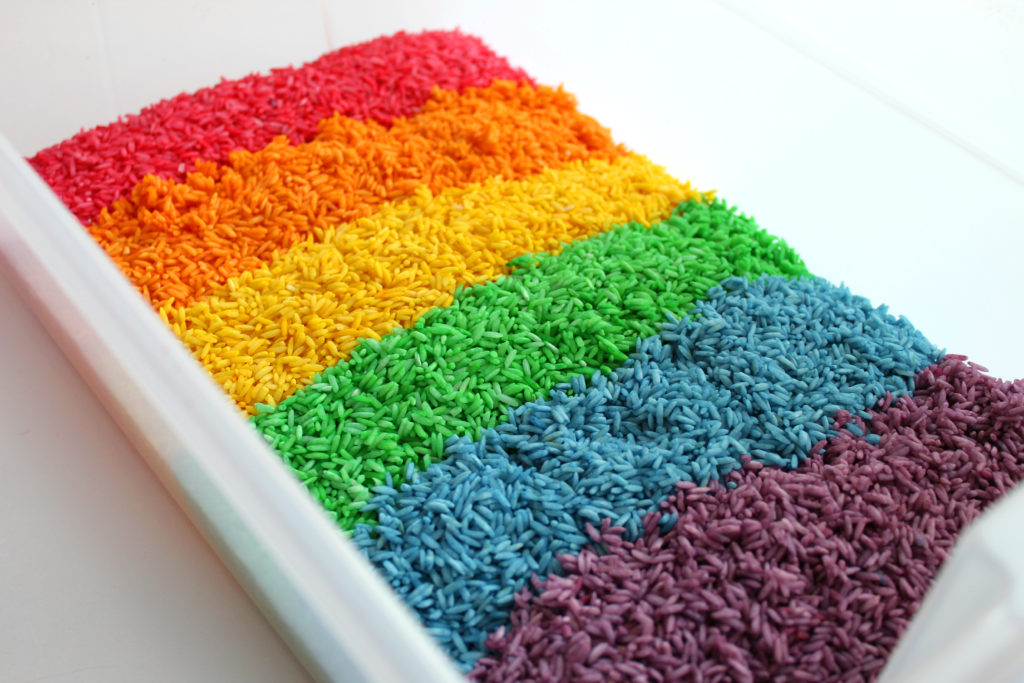
- One option for the drying process is to lay the rice on a baking sheet. To keep the colors separated, create little foil “boats” to pour each color of the rice in and gently spread the rice out. This keeps the colors separated and still allows it to get some air to dry quicker. Also, it’s easy to simply pick up each foil packet and gently pour it into the bin when you’re ready. Just make sure to pour one color at a time in a straight vertical line to keep the colors separate initially for the rainbow effect.
Notes:
Place cups, shovels, stirrers, small toys, etc. in the bin. Kids can bury the items, pour from shovels into cups, etc.
You could even add a little essential oil in the bags in the initial stages of creating the rice if you want to create scented rice.
Looking for more fun sensory bin ideas? Check our our Sensory Bins board on Pinterest!
