
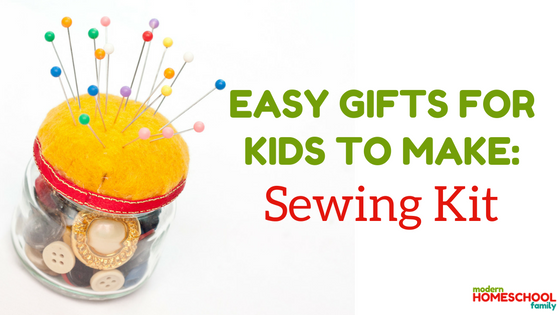
If you know of someone that likes sewing as a hobby, or maybe even a “newly minted” adult, this is a great gift to give.
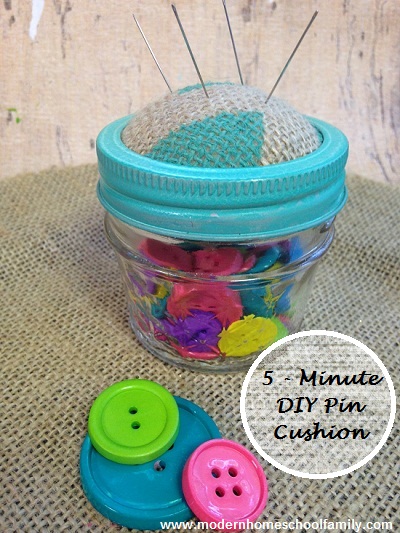
Whenever we sew, we want to have an organized way of keeping things. Buttons, velcros, pins, needles and the like are often mixed in one sewing box, that most of the time; we tend to forget that we own several of those. In order to organize everything, and make thing easier for us, we came up with a handy sewing bottle with a pincushion on top of it. Sounds cool huh?!
Easy Gift for Kids to Make: Sewing Kit
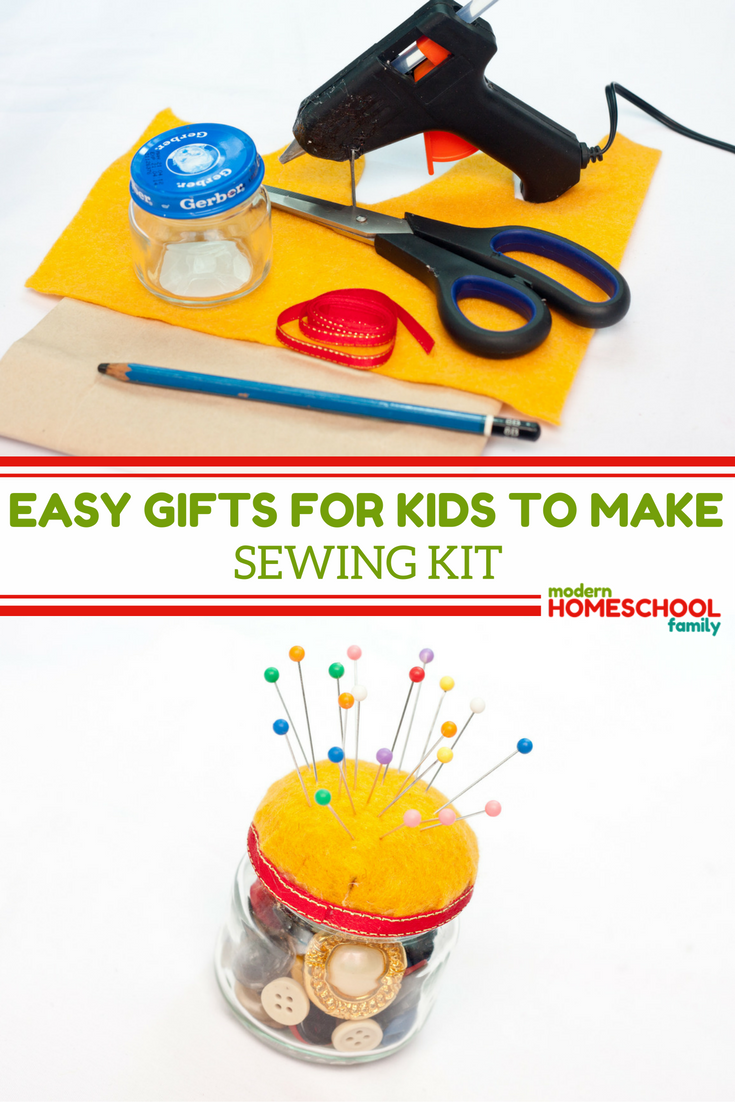
First, gather all of the materials. Here’s what you’ll need:
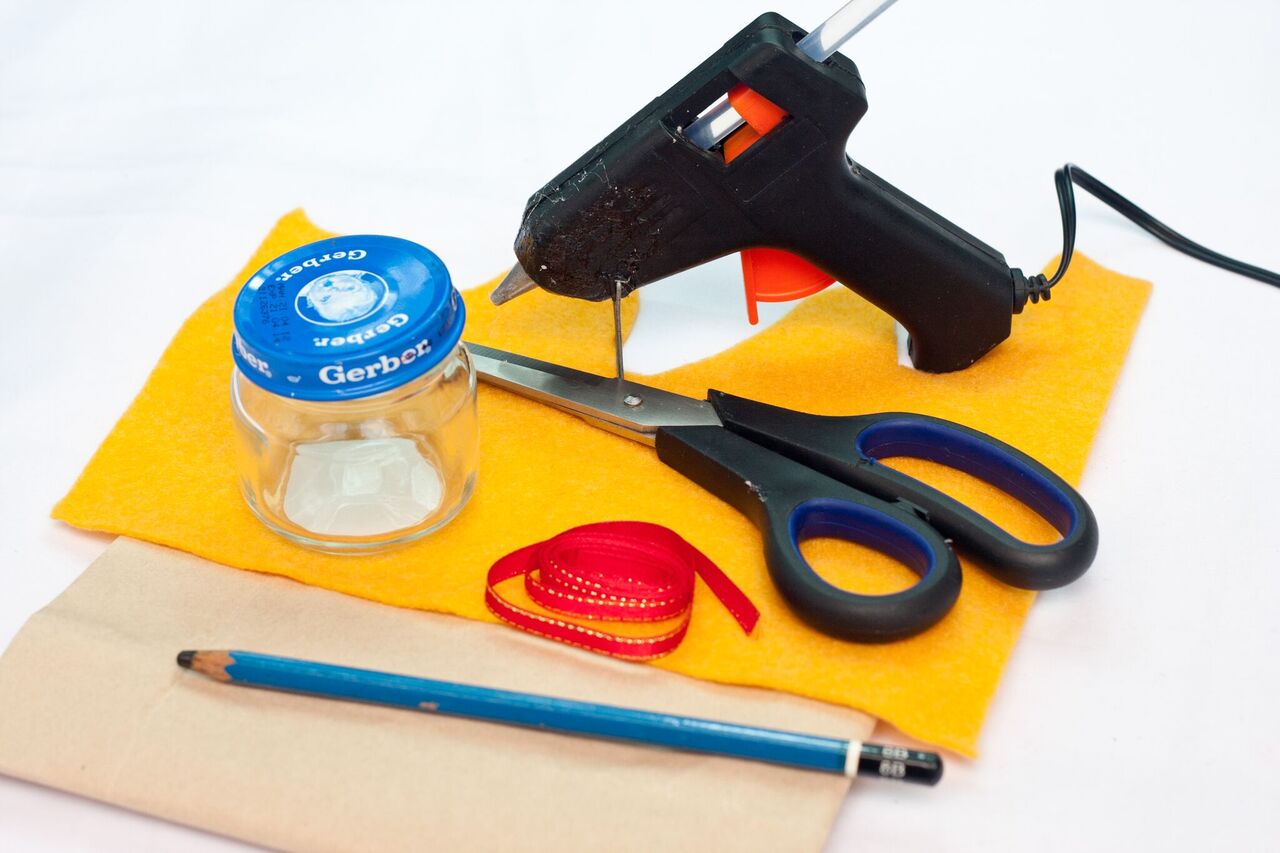
Gather all the materials needed for this tutorial:
- a small covered bottle
- a piece of craft felt
- 1-centimeter thick red satin ribbon
- scissors
- pencil
- pattern paper
- fillings or stuffing (e.g. craft felt, cotton, synthetic fibers, etc. )
- hot glue
Step 1:
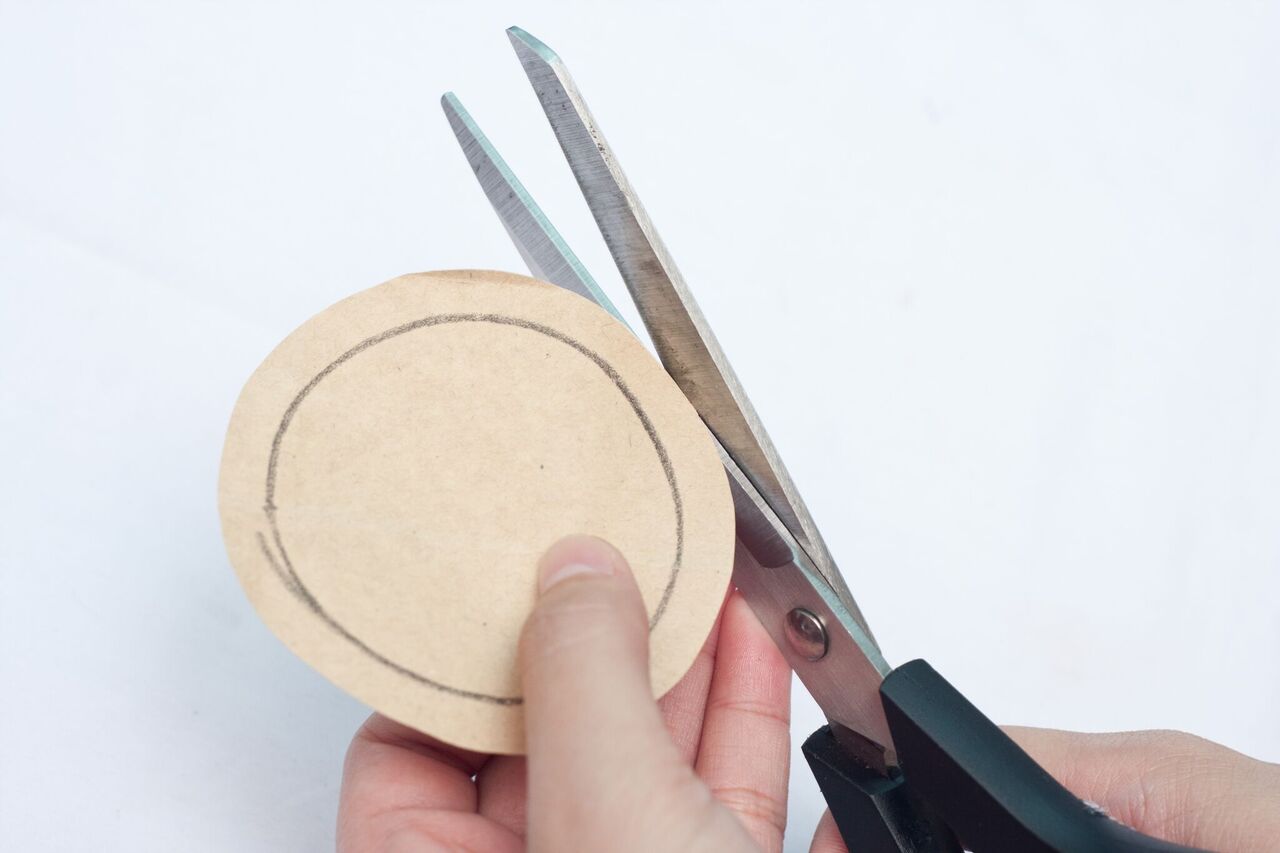
Measure the bottle cap and line it using a pencil. Cut the pattern but leave a small margin around the circle.
Step 2:
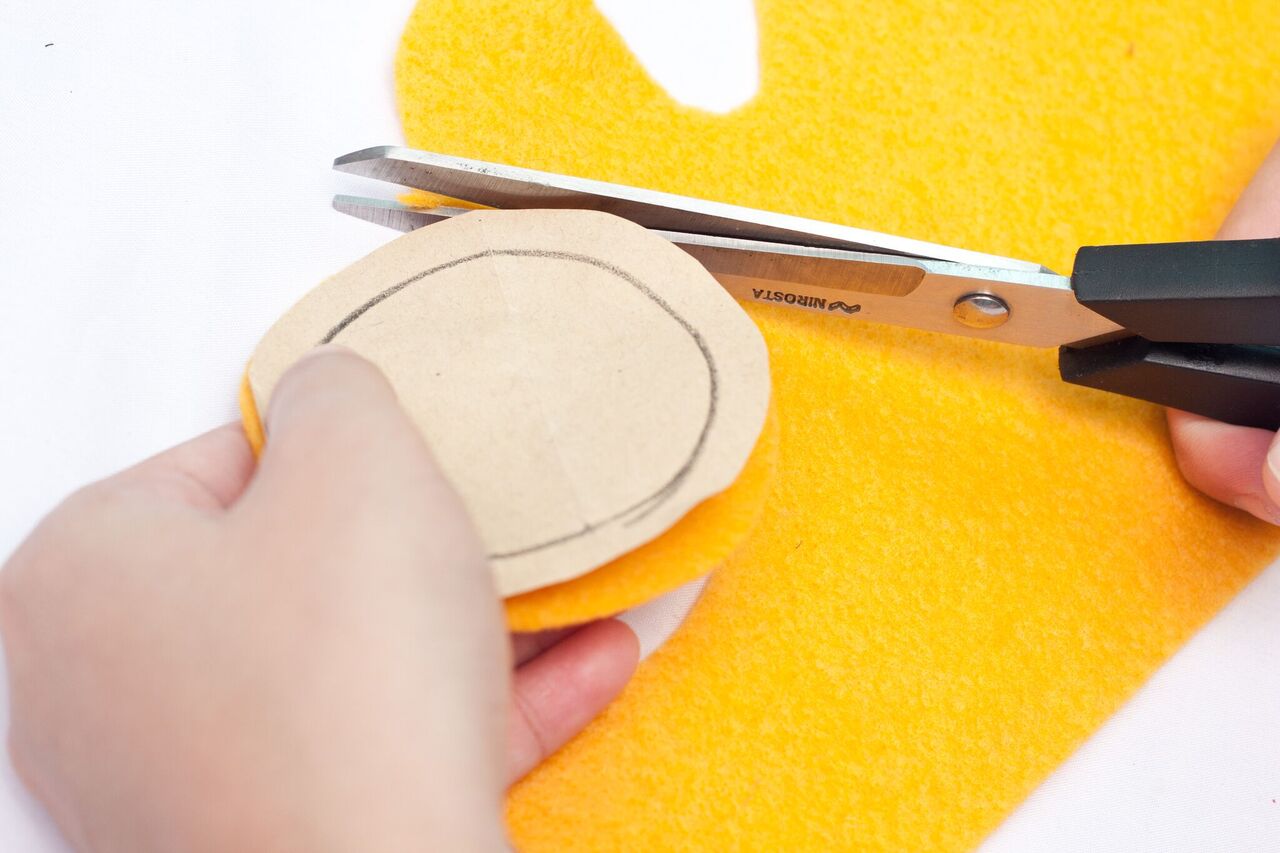
Using the pattern, cut a piece of craft felt.
Step 3:
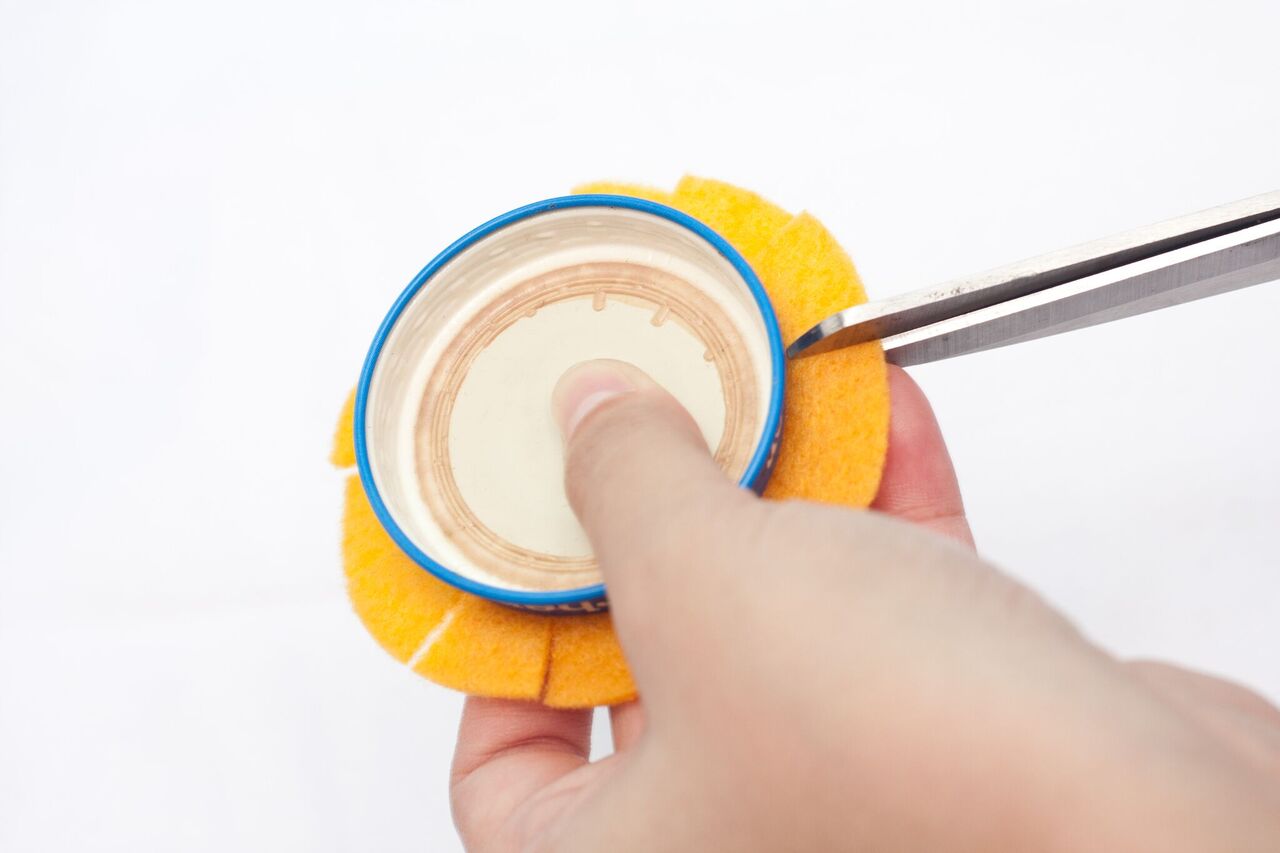
Cut several vertical lines on the excess side of the felt. Put the bottle cap in the middle to have a reference point when cutting the felt.
Step 4:
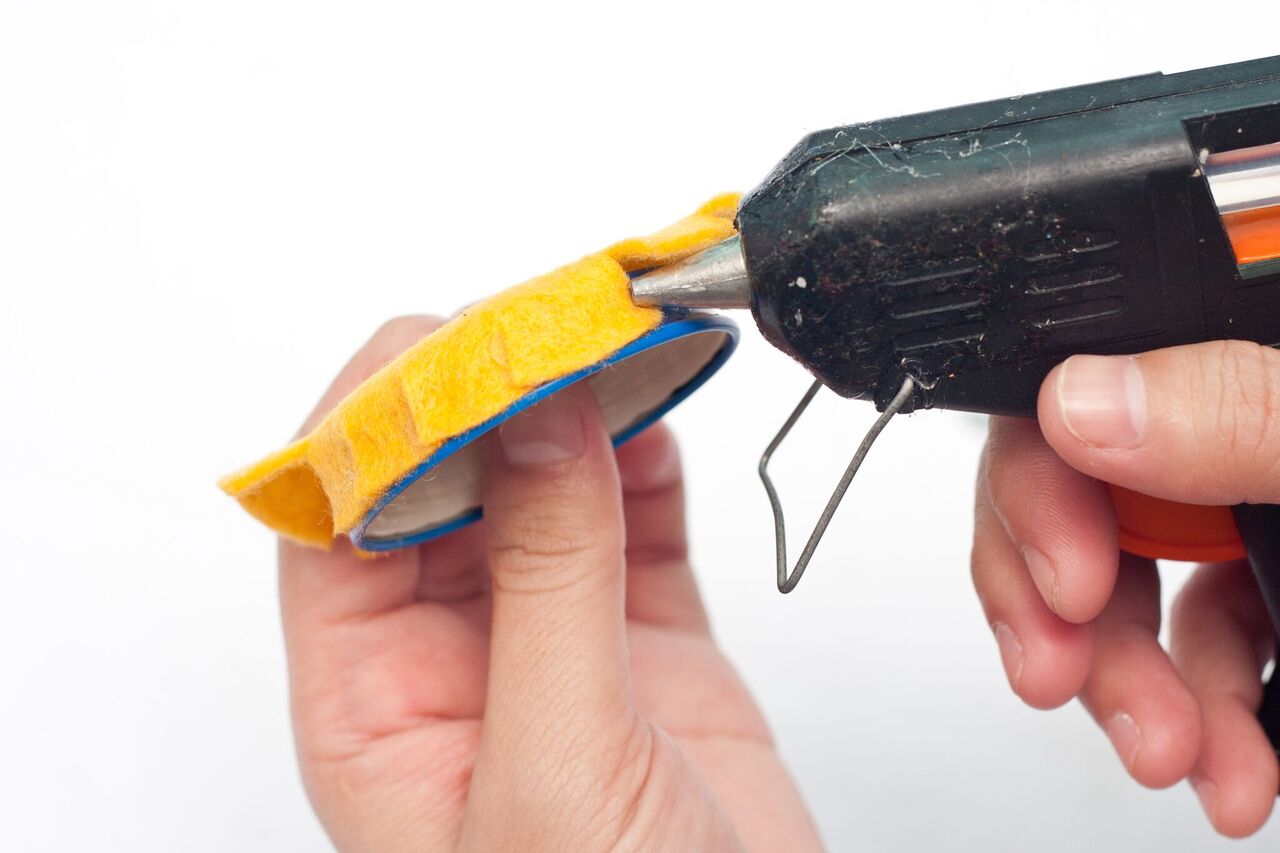
Hot glue each vertical strand of felt on the side or the edge of the bottle cap. Leave a small opening on it.
Step 5:
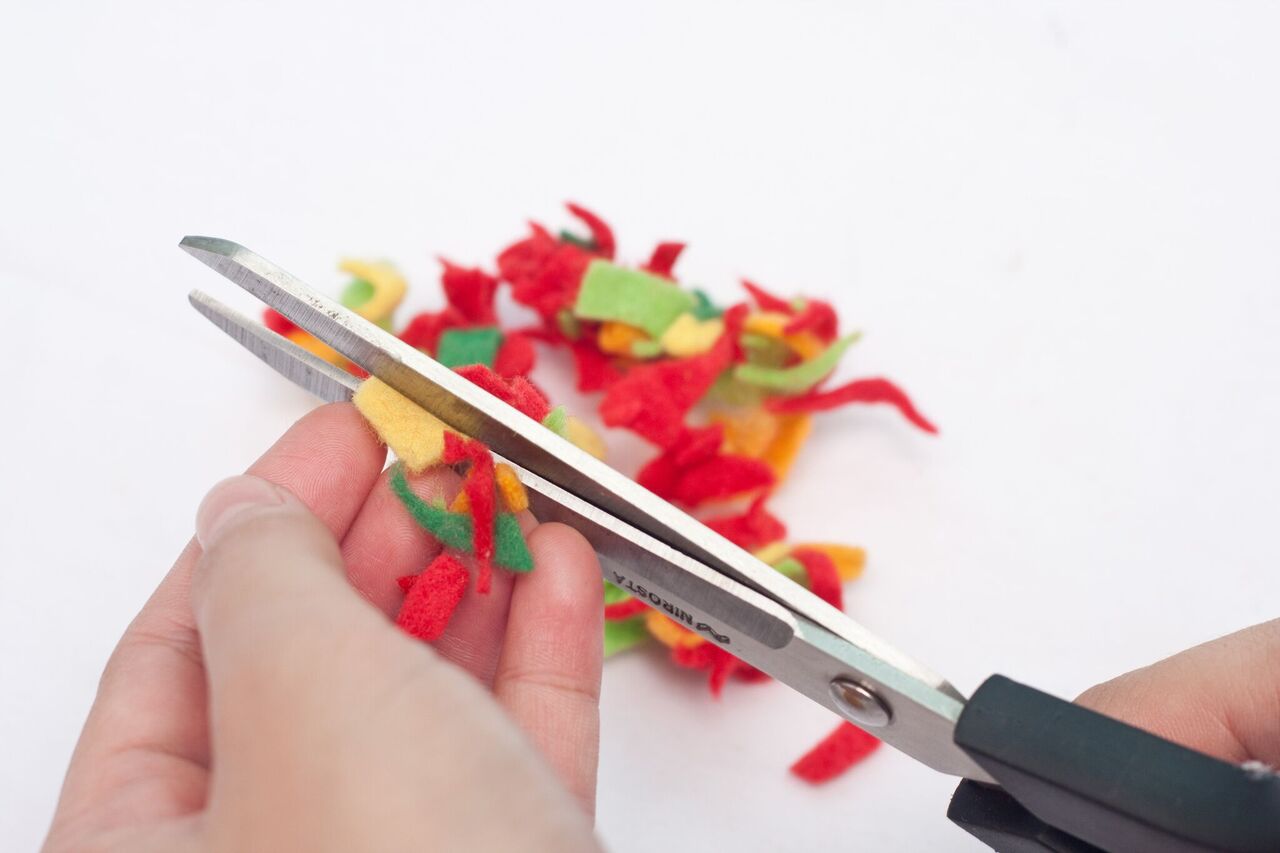
Cut the stuffing or the filling into several bits of pieces.
Step 6:
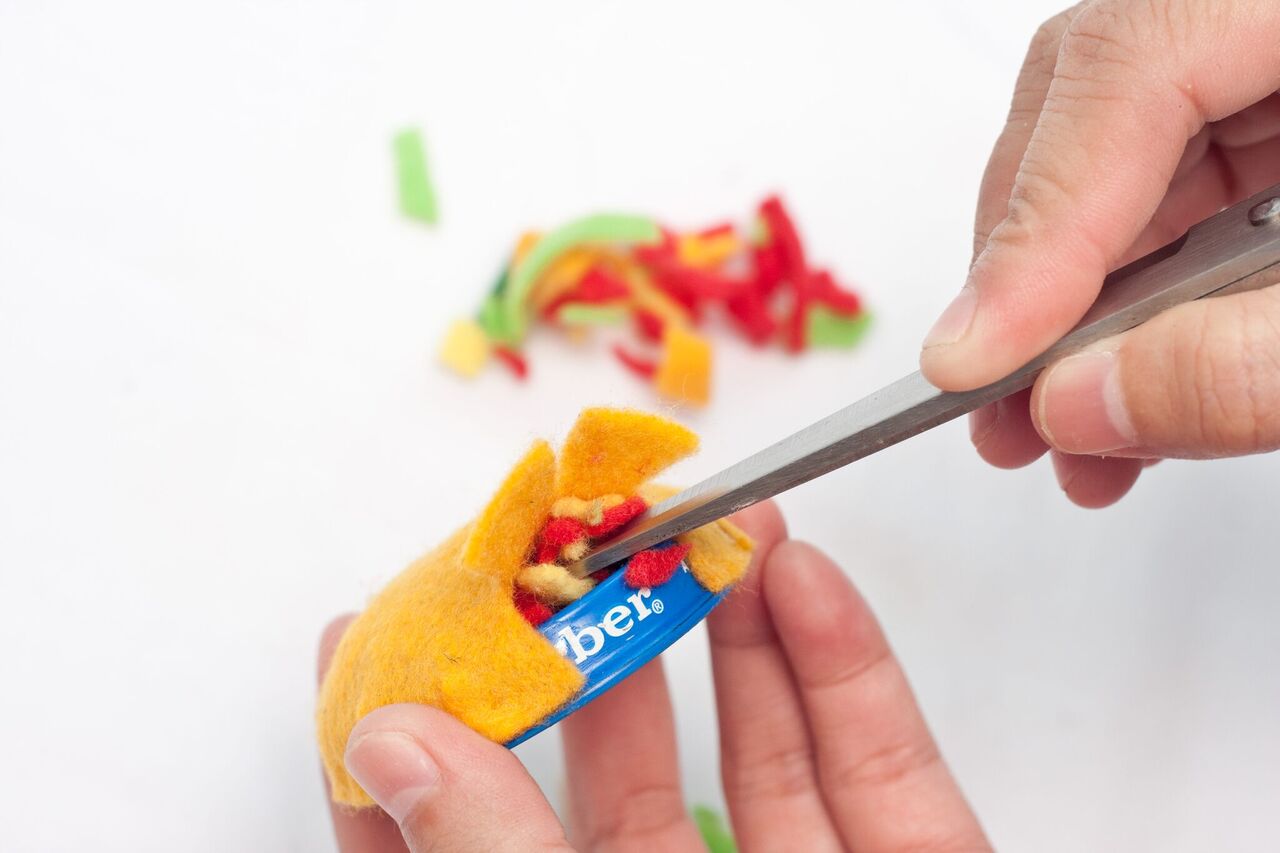
Insert the fillings on the small opening on top of the cap. Push the fillings using the tip of the scissors.
Step 7:
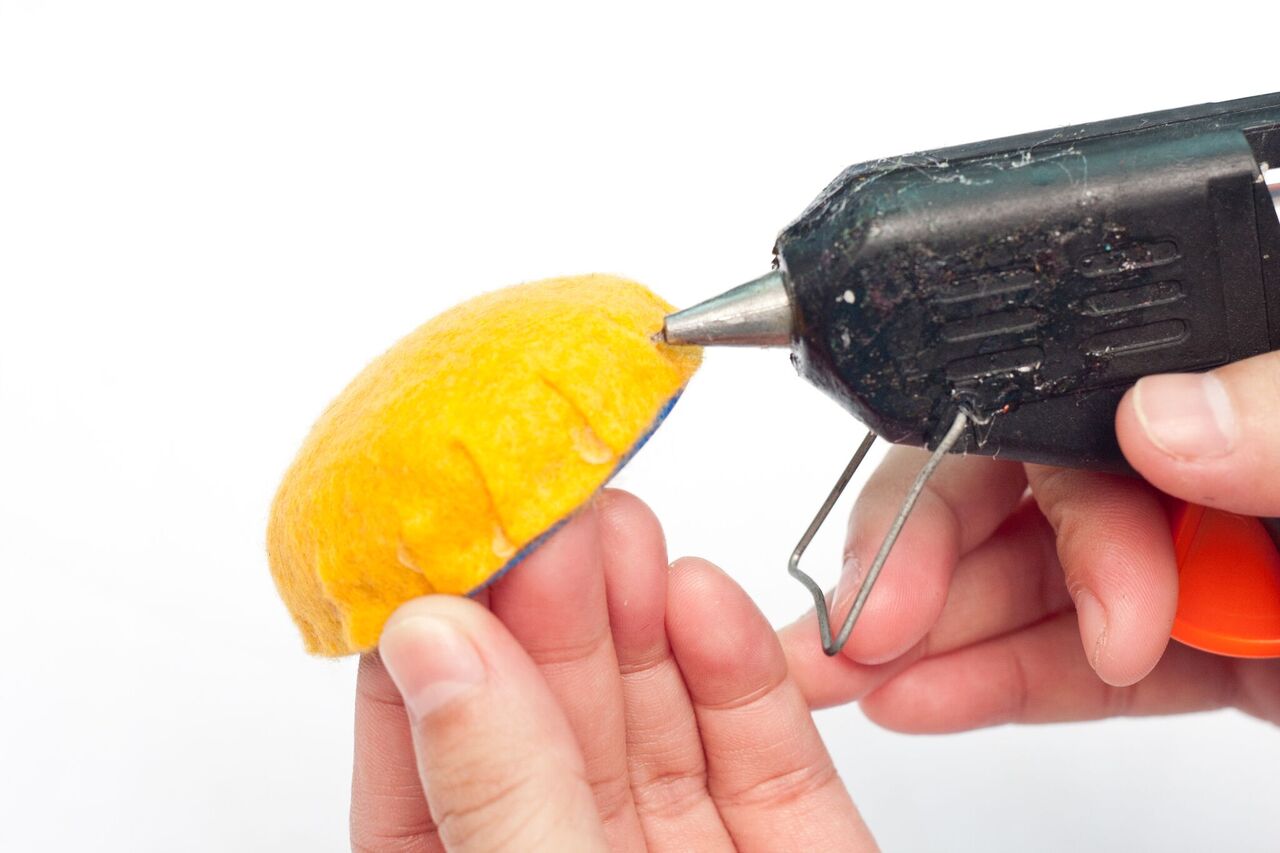
Seal the opening using hot glue.
Step 8:

Wrap the red satin ribbon around the edge of the bottle cap and glue it to permanently stick it. Cut the excess ribbon afterwards.
Step 9:
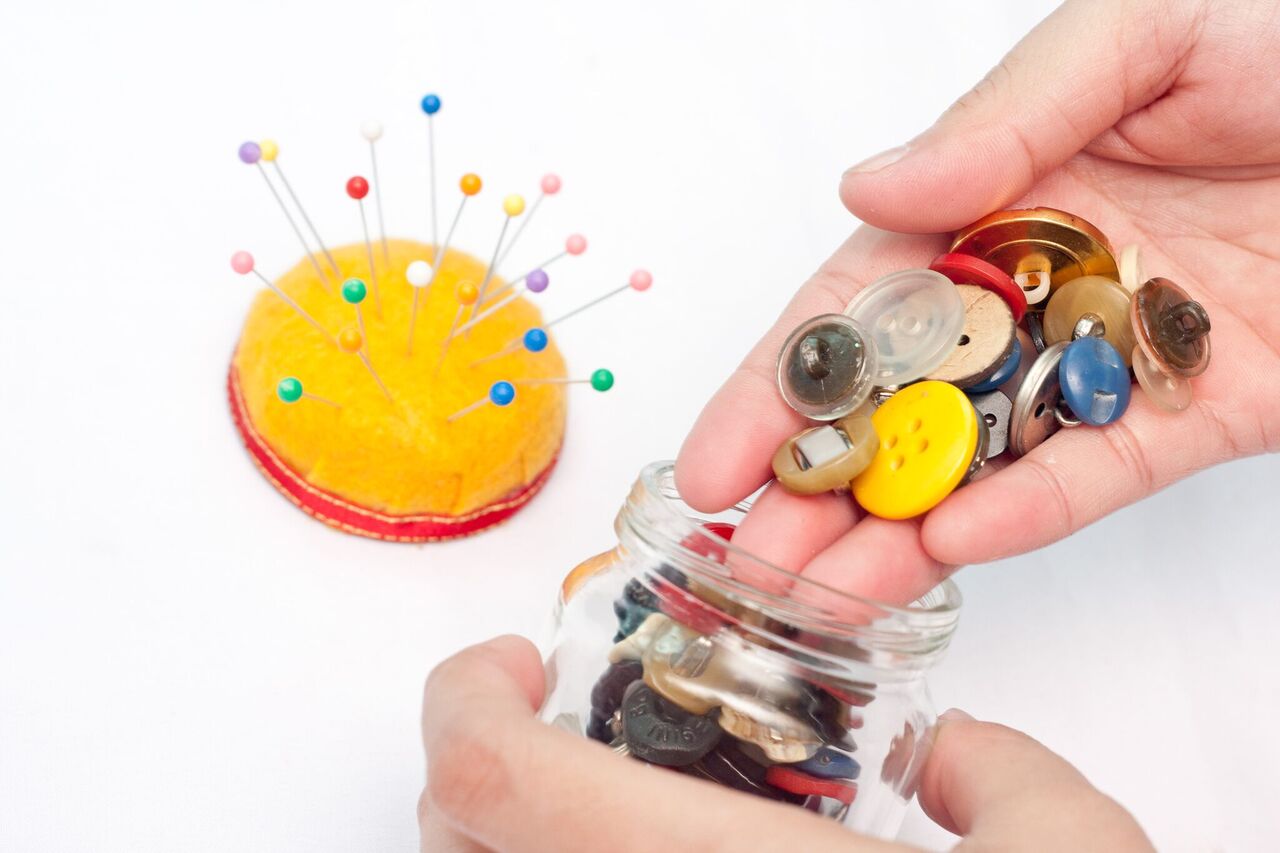
Put the pins and the sewing materials, like buttons, on the sewing bottle.
Step 10:
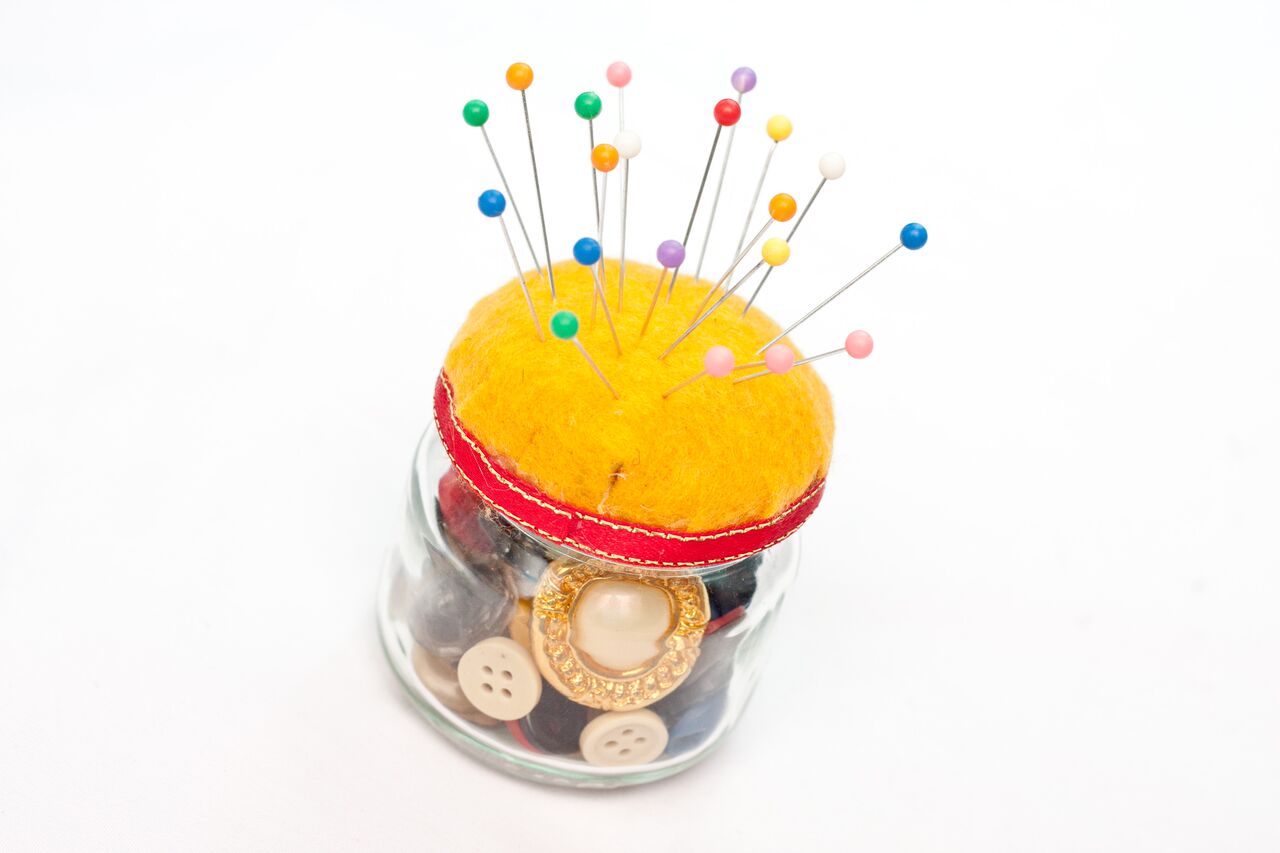
Close the sewing bottle and you are now ready to go!
If you have a lot of sewing items to place, you can use a bigger bottle for that. The size of the bottle would vary on the needs of the owner. You can also place sewing threads or even a measuring tape inside the bottle. Anything comes in handy now! So what are you waiting for? Make one for yourself or for a friend now! Enjoy!
